The 7-Point Delivery Checklist I Use for Every Test Instrument Order
-
Step 1: Match the model number to the PO, including the suffix
-
Step 2: Demand a calibration certificate with actual data
-
Step 3: Look at the physical things you'll have to explain later
-
Step 4: Run the 30-second functional test before you sign
-
Step 5: Verify the firmware version—the step almost everyone skips
-
Step 6: Count the accessories and bag them with the manual
-
Step 7: Register the warranty and log the serial numbers
-
What I've learned the hard way
If you're the person who signs the packing slip when test equipment shows up, this one's for you. Ordering a few dozen transducers or a new spectrum analyzer isn't like restocking pens. When a box of pens is wrong, you toss it back and nobody loses sleep. When a calibration-dependent instrument is wrong, projects get delayed, audit findings happen, and the whole mess rolls uphill to whoever accepted delivery.
I've handled purchasing for a 200-person engineering and municipal utility services company since 2020. We spend roughly $180,000 a year on test and measurement gear across maybe a dozen vendors—water meters, multimeters, handheld spectrum analyzers, precision calipers, you name it. I'm not an engineer and I've never claimed to be one. But I've built a seven-step delivery check that has caught real problems: mismatched models, missing calibration data, outdated firmware, and one unit that arrived with a cracked display bezel hidden under the foam. Here's the process, in the order I actually run it.
Step 1: Match the model number to the PO, including the suffix
Obvious step, but it's where I've messed up most. The hardware in this category looks deceptively similar. A Sensus SR2 water meter and a Sensus iPERL appear nearly identical from the outside, but they output different data and require different reading infrastructure. Order SR2s, receive iPERLs, and you might not notice until a crew has already set thirty of them in the field.
So I pull up the PO and compare the complete model string to the label on each unit. Brand name alone isn't enough. The Sensus Touch Read water meter, for instance, comes in multiple register configurations. Same physical body, different communication output. The suffix is where the details hide.
Step 2: Demand a calibration certificate with actual data
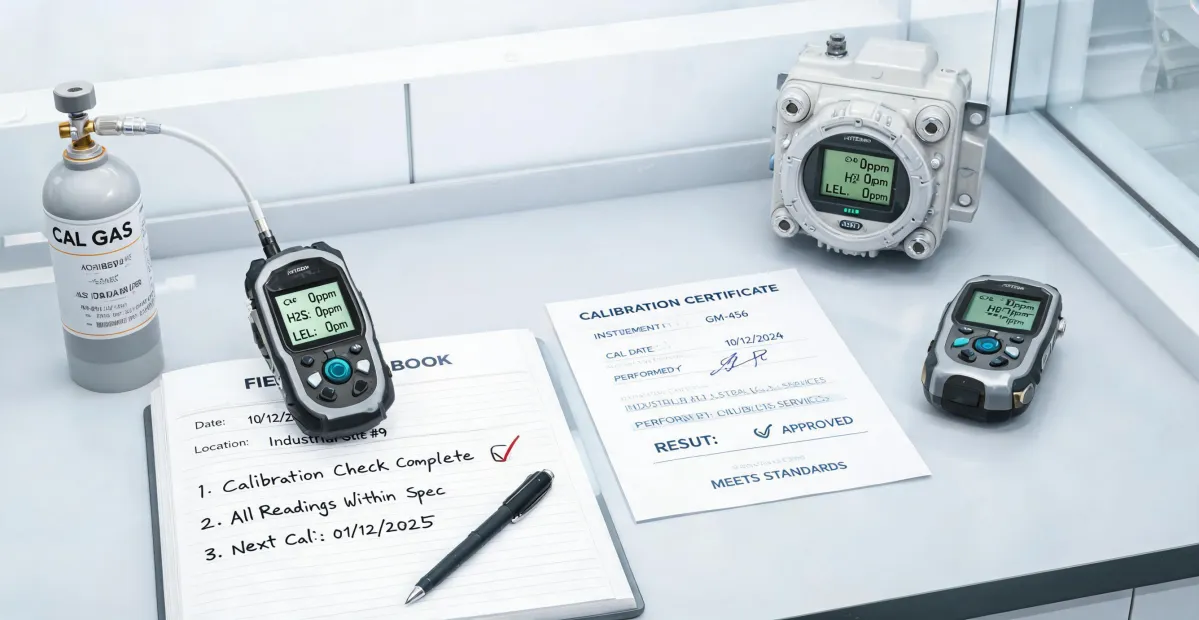
Here's something most people don't realize until it bites them: not all calibration certificates are worth the paper they're printed on. Some are fully traceable documents with before/after readings, uncertainty values, and the specific standard used. Others are "statements of conformity"—a signed line saying the unit passed. Those aren't the same thing, and anyone who works with certified instruments will have strong opinions about it.
I accepted a batch of 1587 insulation multimeters back in 2022 with statements of conformity instead of real certificates. The operations lead asked me for the measurement data. I had nothing. The vendor eventually made it right, but I looked exactly as incompetent as I felt.
Now I reference ISO 10012 when I'm writing purchase terms, and NIST (nist.gov) for traceability requirements. If a certificate doesn't include data, I treat it as a decorative sheet of paper.
Step 3: Look at the physical things you'll have to explain later
I'm not talking about a detailed mechanical inspection. I mean the stuff that gets photographed and thrown back at you months later in a warranty dispute.
Check the housing for stress marks around the screws—that's a sign the unit absorbed a hard impact. Check the display bezel. Check connector pins with a flashlight. Bent pins are the "we received it like this" argument that nobody can settle without photo evidence.
This applies to everything from a $30 micrometer to a $3,500 handheld spectrum analyzer. For precision calipers, I also check the origin marking while I'm at it. To answer a question I still get regularly from our technicians: Starrett calipers are made in Athol, Massachusetts, and the company has manufactured there since 1880. Not an automatic badge of quality, but helpful context when someone offers you a suspiciously cheap "identical" caliper from an unnamed distributor.
Step 4: Run the 30-second functional test before you sign
You don't need an engineering degree for this. Most instruments have a basic self-check that takes half a minute:
- Multimeter: power on, touch the probes together, confirm the display reads zero (or near it).
- Water meter: verify the sweep hand responds when the test bench spins the register (or whatever the vendor's acceptance guidance allows).
- Spectrum analyzer: power on, watch the noise floor settle. A clean baseline is reassuring; a smeared or dead display means trouble.
The point isn't to validate performance. It's to catch dead-on-arrival units while you still have the driver standing there. Once you sign, it's a dispute instead of a return.
For something like the Fluke 1587, I also run a quick continuity check with the included test leads. It takes twenty seconds and reveals the most common shipping failure: damaged probe cables.
Step 5: Verify the firmware version—the step almost everyone skips
Everything I'd read about instrument procurement said to focus on physical condition and calibration. In practice, the biggest source of "this doesn't work right" calls I've fielded has been outdated firmware.
A handheld spectrum analyzer on old firmware can fail to measure newer modulation types even when the hardware is fine. A Sensus Touch Read meter with a communication module that's behind on firmware will produce inconsistent reads when paired with newer reading equipment. The fix itself is simple. The problem is discovering it after you've booked a crew and paid for field time.
So after the functional test, I check the firmware version against the manufacturer's published release notes. For Sensus meters, I verify the compute module firmware matches the rest of our reading system. This one step has prevented more field callbacks than any other.
Step 6: Count the accessories and bag them with the manual
Test leads. Charging cradles. USB cables. Carrying cases. Manuals. Every item is usually listed on the packing slip, and somehow half of it's unpacked and scattered by Friday.
When we log a new instrument into inventory, I put the manual, certificate, and accessories in a labeled bag at acceptance time. It sounds like a small thing, but it has eliminated a whole category of "does anyone know where the probe kit ended up?" emails.
Step 7: Register the warranty and log the serial numbers
This is the one you'll thank yourself for in eleven months. I record every serial number in our asset tracker with the PO, vendor, calibration due date, and warranty expiration. Then I register the warranty with the manufacturer on the spot. For anything over $500, it gets done before the unit goes to storage.
It takes about ten minutes total and it's saved me hours of file-finding during warranty claims.
What I've learned the hard way
One: a vendor who tells you what they don't do is worth more than one who claims to do everything. The supplier that told me to contact Fluke directly for a specialized accessory—rather than pretending to have it—earned my trust for every product they do carry. I'd rather work with a specialist who knows their limits than a generalist who overpromises.
Two: don't let urgency override the system. I once skipped the functional test on a rush order of meters, decided the driver's impatience was worth accommodating, and paid for it with three out of twenty units needing register fixes discovered after installation. The rework cost more than fifteen minutes of checking ever would have.
Three: if something feels wrong, say it before you sign. The driver may be annoyed. The vendor may push back. Ask them to wait. A packing slip with your signature is a strong document, and once it's signed, "we received it like this" stops being an option.
That's the whole system. It's not glamorous and it doesn't require a technical background. It just requires consistency—and the willingness to look at the label, the certificate, and the firmware before the delivery truck pulls away.

Marcus Feld
Marcus Feld is an electrical test and measurement analyst specializing in multimeters, oscilloscopes, clamp meters, insulation testers, spectrum analyzers, and data loggers. He applies IEC 61010-2-030 and IEC 61010-031 concepts while examining measurement category, bandwidth, true-RMS response, input loading, and stated uncertainty. His work helps maintenance engineers and test teams choose safe instruments with performance suited to the signals and environments they actually measure.
Leave a Reply